Home Bar Design Ideas That Start With How You'll Use the Space
Key Takeaway
The best home bar design ideas start with how you will actually use the space before choosing any finishes or appliances. Home bars range from a simple rolling cart to a full built-in wet bar with plumbing, seating, and dedicated appliances. Plan circulation clearances first, with at least 36 inches for walkways and 24 inches of counter width per seated guest, then layer in storage, lighting, and materials that match your lifestyle.
The best home bar begins with a simple question: how will you actually use it, and where do people already gather in your home? Answer that first, then choose a right-sized format, from a rolling cart to a full built-in wet bar. Once the use and location are clear, prioritize the practical layer (circulation, prep space, storage, lighting, and appliances) before you fall in love with a backsplash tile. A well-planned home bar makes entertaining easier and gives a room a reason to feel finished. Start with purpose, and the design decisions get much simpler. That's the order we walk every homeowner through, and it keeps your vision grounded in something you'll enjoy for years.
Decide How You'll Actually Use Your Home Bar
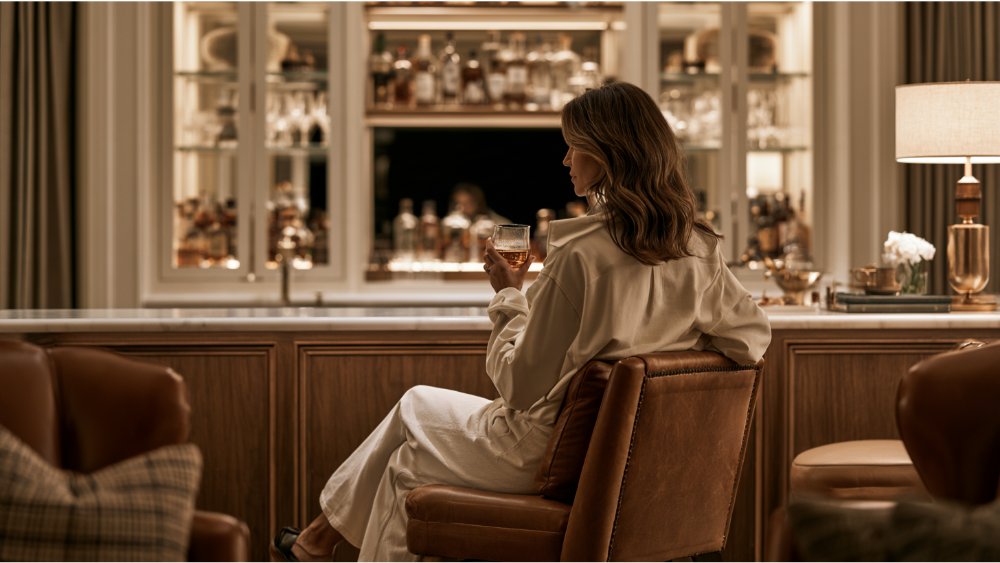
Function comes before finishes. Picture a normal week in your home, not just the holiday party. Will you pour cocktails and spirits, store and serve wine, keep beer cold, brew coffee and tea in the morning, or mix mocktails and cold drinks for the whole family? Many of the home bars we design pull double duty as snack and entertaining stations, useful at 8 a.m. and 8 p.m. alike.
A few things worth deciding early:
- Everyday use versus occasional gatherings (this drives how much prep and storage you need).
- Display storage (glass-front cabinets, open shelving) versus concealed storage for households that prefer bottles out of sight or reach.
- Whether coffee, tea, and nonalcoholic drinks belong here too.
A bar built around how you live stays useful as your household changes. One designed only for cocktails often sits unused.
What Are the Main Types of Home Bars?
Home bars fall into five broad formats, and picking the right one shapes every decision that follows. A hidden cabinet bar can pack a full wet bar's impact into a compact footprint, and even a closet can be converted into a complete home bar. Use the table below to explore the tier that fits your space and ambitions.
| Type | Best For | Typical Location | Utilities | Construction Complexity |
|---|---|---|---|---|
| Bar tray or cart | Renters, small spaces, flexibility | Living or dining room | None | None (buy and style) |
| Freestanding cabinet | Concealed storage, easy relocation | Dining room, living room | Optional outlet | Low |
| Built-in dry bar | Dedicated nook, custom storage | Alcove, wall, closet | Electrical only | Medium |
| Built-in wet bar | Serious entertaining, cleanup on site | Basement, kitchen-adjacent | Plumbing + electrical | High |
| Seated entertainment bar | Gathering, stools, appliances | Basement, bonus room | Plumbing, electrical, appliances | Highest |
Complexity rises with every utility you add. That isn't a reason to avoid a wet bar, but it is a reason to know what you're signing up for before design begins. Even in a small apartment, a tray or cart can deliver the same welcoming feel with none of the construction.
Where Is the Best Place to Put a Home Bar?
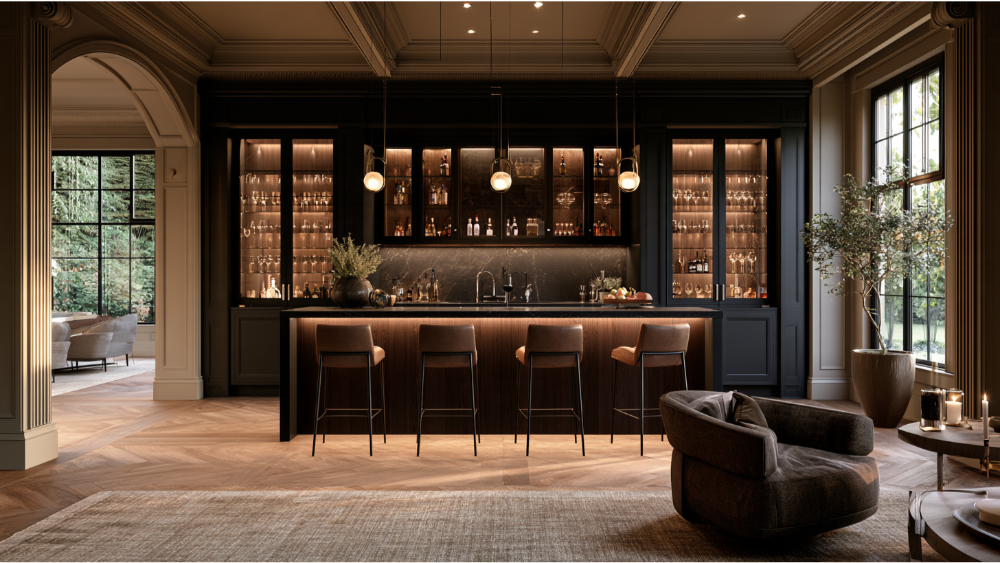
Put the bar near where people naturally gather, without blocking the paths they use to get there. Kitchen-adjacent spaces keep food and drinks in one zone. Dining rooms work well for built-ins that fill an underused wall. Living rooms suit a handsome cabinet or cart, and they're often where family and guests already live and relax. Basements and bonus rooms give you room for a full seated setup with appliances. Even a library, home office, or an unused nook, corner, alcove, or under-stair space can become a tidy beverage station where guests linger.
The principle is the same everywhere: the home bar should feel like part of the gathering, not a detour. If guests have to squeeze past a cook or interrupt the main walkway to grab a drink, the location is working against you. A spot near an indoor-outdoor connection also pays off when you entertain on a patio.
Home Bar Ideas by Available Space
Rather than scrolling a random gallery, match your home bar ideas to the footprint you actually have. Vertical storage and mirrored backsplashes both make tight spaces feel larger, and multipurpose or repurposed furniture turns a modest corner into something stylish with easy access to what you pour most. Use the list below as inspiration, then adapt a layout to your room.
- Slim wall bar: a shallow counter and floating shelves along an open wall.
- Corner bar: an angled cabinet that uses dead space.
- Hidden cabinet bar: cabinets with doors that close to hide the whole setup.
- Closet conversion: a reach-in closet reborn as a full home bar.
- Dining-room built-in: cabinetry that matches, or politely contrasts, the room.
- Library or office bar: a discreet station for coffee or an evening pour.
- Kitchen-adjacent beverage station: coffee by day, cocktails by night.
- Under-stair bar: a snug nook with a big personality.
- Basement lounge bar: seating, appliances, and room to host.
- Family-friendly snack and mocktail bar: cold drinks and snacks everyone can reach.
- Full seated bar: stools, a prep zone, and real appliances.
Home Bar Dimensions for Comfortable, Easy Access
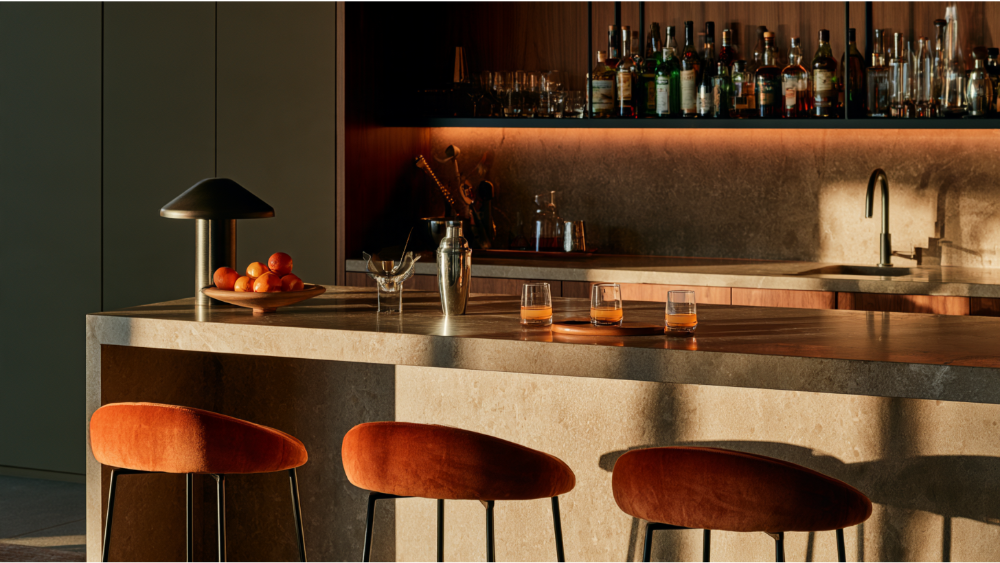
A counter can technically fit and still feel cramped if you forget the room around it. The planning guidance below comes from the National Kitchen & Bath Association. These are professional recommendations, not adopted code, so confirm anything structural with your local building department.
| Clearance | Recommended Minimum |
|---|---|
| General walkway | 36 inches |
| Behind seating, no passage needed | 32 inches |
| To edge past a seated person | 36 inches |
| To walk behind a seated person | 44 inches |
| Wheelchair passage behind seating | 60 inches |
| Counter width per seated person | 24 inches |
| Knee space at 30 / 36 / 42 inch surface | 18 / 15 / 12 inches deep |
| Landing beside an auxiliary sink | 3 inches one side, 18 inches the other |
Don't forget the pull-out room stools need and the space behind them so guests can get seated without a traffic jam. Right-sizing the bar to the size of your room is what keeps it comfortable.
Plan the Workflow and Storage Zones First
A good home bar follows the same path every time you make a drink. Lay it out as a sequence, and the whole thing feels effortless to use:
- Bottle and mixer storage within easy reach of the prep area, so you can stock what you reach for most.
- Refrigeration and ice close to where you pour.
- Preparation with open counter to work on.
- Mixing and pouring at the heart of the counter.
- Glassware and serving, with glasses stored near the serving edge.
- Cleanup and waste, with a spot for recycling.
Build in drawers for tools, vertical bottle storage, and adjustable shelving so the layout flexes over time. Closed cabinets keep clutter hidden, tray dividers tame the chaos, and a dedicated bin for recycling keeps the whole zone tidy.
Wet Bar or Dry Bar: Which Is Right for You?
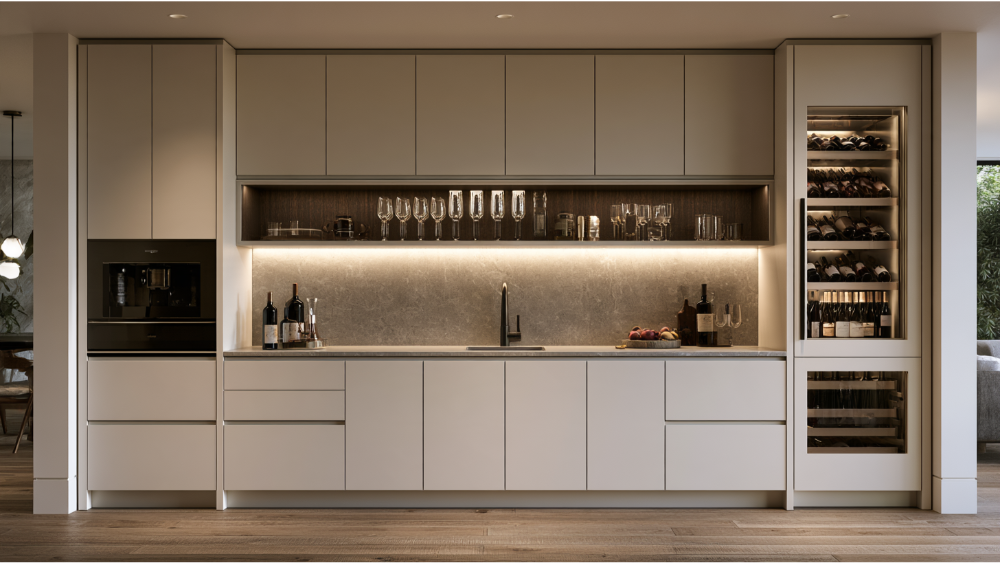
A wet bar has a sink and plumbing. A dry bar does not. A sink makes mixing and cleanup convenient without trips to the kitchen, but it costs you counter space, requires plumbing access, and often triggers permits and more involved construction. A dry bar skips all of that and can still be fully functional, especially paired with a small beverage cooler and an ice maker.
Not every built-in home bar needs a sink. If your bar sits a few steps from the kitchen, a dry setup may serve you just as well with far less disruption. We cover this tradeoff in depth in our dedicated guide to choosing between a wet bar and a dry bar.
Choose Appliances Before Designing the Cabinets
Pick your appliances first, then build the cabinets around them. A beverage cooler, wine cooler, ice maker, dishwasher drawer, coffee equipment, or under-counter refrigerator each comes with its own ventilation needs, door swing, service access, and dedicated circuit requirements. Those details are model-specific, so always design the cabinets to the manufacturer's installation instructions rather than a generic opening.
Efficiency matters too. ENERGY STAR reports that certified coolers can be up to 20% more efficient than models meeting minimum federal standards, though not every product marketed as a "wine refrigerator" qualifies under its definitions. Confirm the exact model before finalizing cabinetry, because a built-in unit and a freestanding one call for very different clearances.
Materials and Finishes That Last
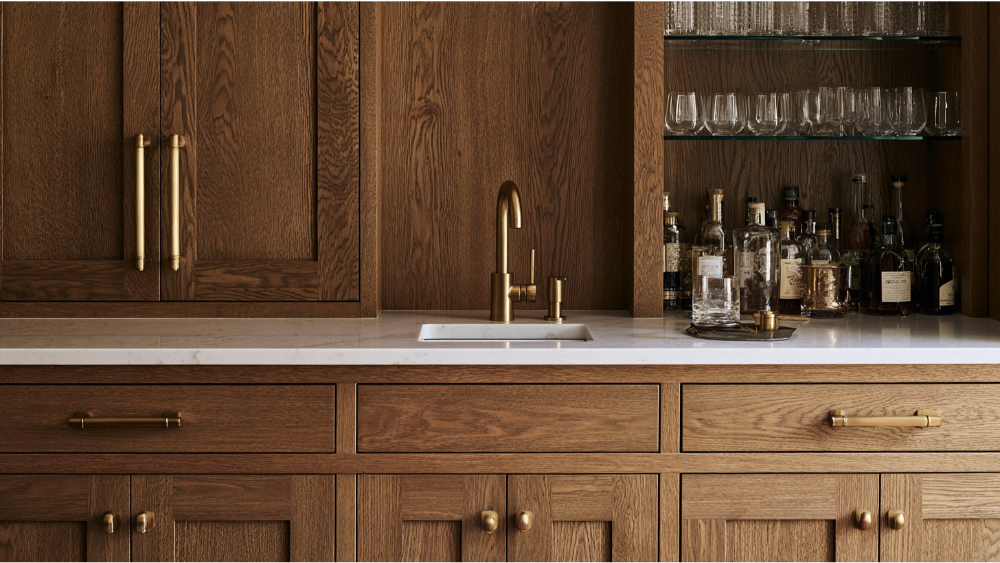
Finishes are where your home bar gets its personality, but durability should guide the big surfaces. Choose countertops that shrug off spills and moisture, cabinets rated for damp conditions, and backsplashes that wipe clean. For storage, decide between open shelving, glass-front cabinets, or a mirrored backsplash that bounces light and makes a small bar feel larger.
From there, the style is yours. Marble countertops bring a polished, luxurious look. Interesting tile adds pattern and practical cleanup. Polished wood and fluted paneling add warmth and texture, and natural wood grain is a reliable way to make a room feel inviting. Exposed brick gives an industrial edge, while a deep blue cabinet or wall adds color without shouting, and high-contrast black and white reads clean and modern. A speakeasy feel leans dark and intimate; detailed millwork adds quiet craftsmanship and a bit of sophistication. There's no single "best" countertop, so match the material to how hard the bar will work. Coordinate with the adjoining room and its interiors, but give the bar enough of its own character that it doesn't disappear into the wall. Mixing warm wood with a few unexpected materials is an easy way to add flair.
Layer the Lighting for Work and Entertaining
One overhead fixture won't cut it. The best bars layer light so the space can shift from making drinks to hosting them. Lighting choices shape the whole mood, and a few well-placed sources transform the look. A fixture mounted from the ceiling over the counter can anchor the whole zone.
- General room lighting for overall brightness.
- Task lighting right over the prep surface so you can see what you're pouring.
- Under-shelf or in-cabinet lighting to make bottles and glassware glow.
- Decorative pendants or sconces, industrial fixtures included, for character.
- Dimmers to drop from bright work mode to an intimate, dimmer atmosphere.
Little details like these are the finishing touch that makes a home bar feel designed rather than assembled, giving the whole corner a chic, inviting quality.
Design for Accessibility and Changing Needs
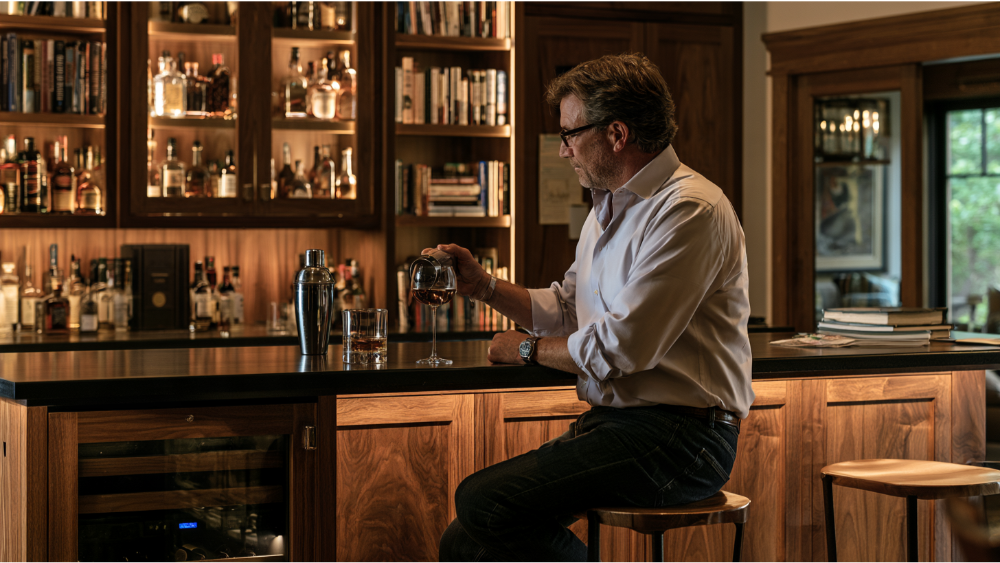
A bar that works for everyone tends to work better for everyone. The ADA generally doesn't apply to a private single-family home, so treat these as voluntary universal-design ideas, not requirements. A lower surface section (28 to 34 inches high) with clear knee space (about 27 inches high, 17 inches deep, and 30 inches wide for a forward approach) lets someone sit comfortably without climbing a tall stool. Wide passages, easy-reach drawers and pullouts, lever-style hardware, nonslip flooring, and solid task lighting make the bar easier to use at any age or ability.
Permits, Electrical, and Plumbing: When a Bar Becomes a Build
Finish-only work, like paint, cabinets, and countertops, is often straightforward. The moment you add a sink, new drains, dedicated circuits, structural changes, or built-in appliances, you may be looking at permits and inspections. Recent electrical code requires GFCI protection near sinks and permanent beverage-prep areas, and appliance loads can change your circuit needs entirely.
Model codes only apply once your state or local jurisdiction adopts them, so there's no honest nationwide yes-or-no on whether a wet bar needs a permit. Always confirm with your local authority having jurisdiction and a qualified electrician and plumber before construction. This is exactly where an integrated design-build team earns its keep, coordinating the drafting, permitting, and trades so nothing falls through the cracks.
Common Home Bar Mistakes to Avoid
- Choosing finishes before planning function.
- Locating the bar away from where people gather.
- Forgetting room behind the stools.
- Buying appliances after the cabinets are already ordered.
- Leaving too little counter space to work on.
- Relying only on open storage with no closed cabinets.
- Ignoring cleanup and waste.
- Skipping a plan for outlets and lighting.
- Overbuilding for an extravagant bar you'll use a few times a year.
- Designing only around alcohol when your household needs a flexible beverage station.
From Vision to Finished Bar: How an Integrated Team Helps
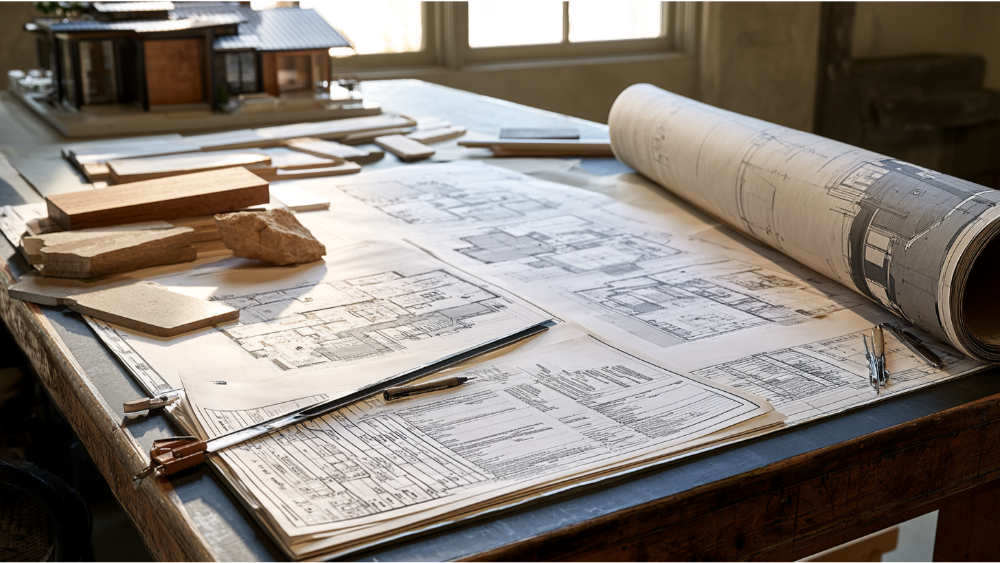
Turning an idea into a finished home bar goes smoother when one team handles the whole journey. We start with a free consultation to understand your goals, then take field measurements and evaluate the site. From there our designers move into drafting and layout, help you choose materials and appliances, and produce 3D rendering and visualization so you can see the space before a single cabinet is built. That step quietly answers the biggest worry we hear: will the finished bar actually match what I pictured? We handle permit review where it's required, coordinate construction across cabinetry, plumbing, and electrical, and finish with a walkthrough together. The result is a fresh retreat where you can pour a drink and escape the day.
Skyline Design Build brings design, drafting, interiors, and construction under one roof, serving the Greater Sacramento area and the San Francisco Bay Area. Because we're based here, we understand the homes and neighborhoods we build in. We'd love to join you in your project and give you the confidence to move forward. Browse your options, then reach out for a free consultation at (916) 701-9196, (415) 480-4607, or through our website contact form to create a bar that's just right for you. Whether it's a couple of floating shelves or a full built-in, we'll find the layout that balances functionality and style, keeping your budget in view the whole course of the project.
Home Bar Design FAQs
What is the difference between a wet bar and a dry bar?
A wet bar includes a sink and plumbing for mixing and cleanup on site. A dry bar has no plumbing and relies on storage, refrigeration, and prep space instead. Both can be fully functional depending on how close the bar sits to your kitchen.
How much space do I need for a home bar?
There's no universal minimum. Plan around clearances instead: roughly a 36-inch walkway, 24 inches of counter width per seated guest, and enough room behind the stools for people to pass without squeezing by.
What is the standard height of a home bar?
Counters commonly land near standard counter height (36 inches) or raised bar height (42 inches), with stool height matched to the surface. A taller counter allows a shallower knee-space overhang. Treat these as planning references, not fixed rules.
Do I need a permit to install a wet bar?
It depends on your local authority having jurisdiction. New plumbing, electrical, or structural work often triggers permits and inspections, while paint and cabinets usually don't. Check with your building department before construction.
Can I build a useful home bar without a sink?
Yes. A dry bar or beverage station with good storage, a beverage cooler, and ice can be completely functional, especially when it sits a short walk from the kitchen. The right items on display can still make it feel polished.