Steps to Building an ADU: A Decision-by-Decision Roadmap
Key Takeaway
Building an ADU follows ten ordered steps: define your purpose, set a budget, confirm property feasibility, choose the ADU type, assemble your team, complete design and engineering, pull permits, lock in your contract, then build and close out. Most steps to building an ADU take 6 to 12 months total. Full project costs typically range from $100,000 to $300,000 depending on type, size, and local requirements.
The ADU Building Process, Start to Finish
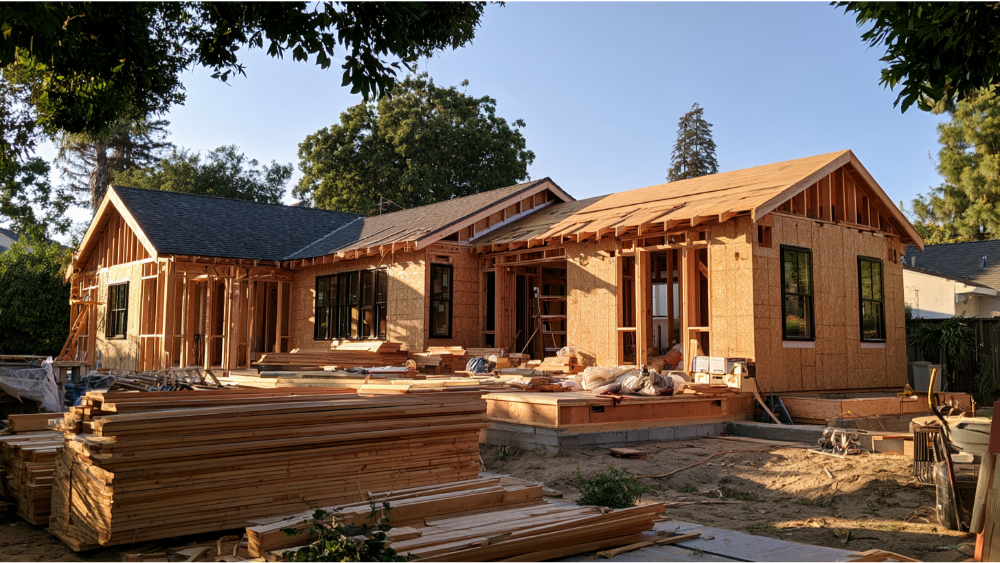
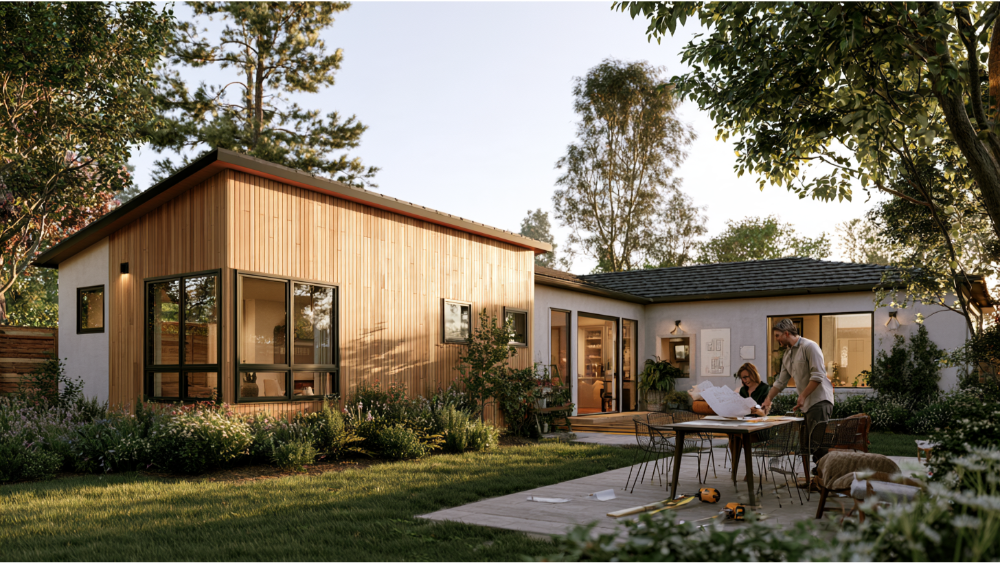
The adu building process follows a clear sequence: define your purpose and budget, confirm your property is actually buildable, choose the type and your project team, complete design and engineering, pull permits, lock in your scope and contract, then build, inspect, and close out. That order holds across the country. What changes from place to place is the fine print: zoning rules, size limits, setbacks, and permit timelines are all set locally, not nationally. We know this is a big, personal commitment, and you're probably feeling both excited about the vision and a little wary of hidden costs. That's normal. An ADU, or accessory dwelling unit, is simply an independent secondary living space on your property with its own living, sleeping, cooking, and bathing areas. Here's how to go from idea to finished home.
The Four Types of Accessory Dwelling Units
Before any of the steps make sense, it helps to know which kind of ADU you're picturing. The type you choose shapes engineering, utility routing, permits, and how hard the build will be. Across California, homeowners weigh these four options most often.
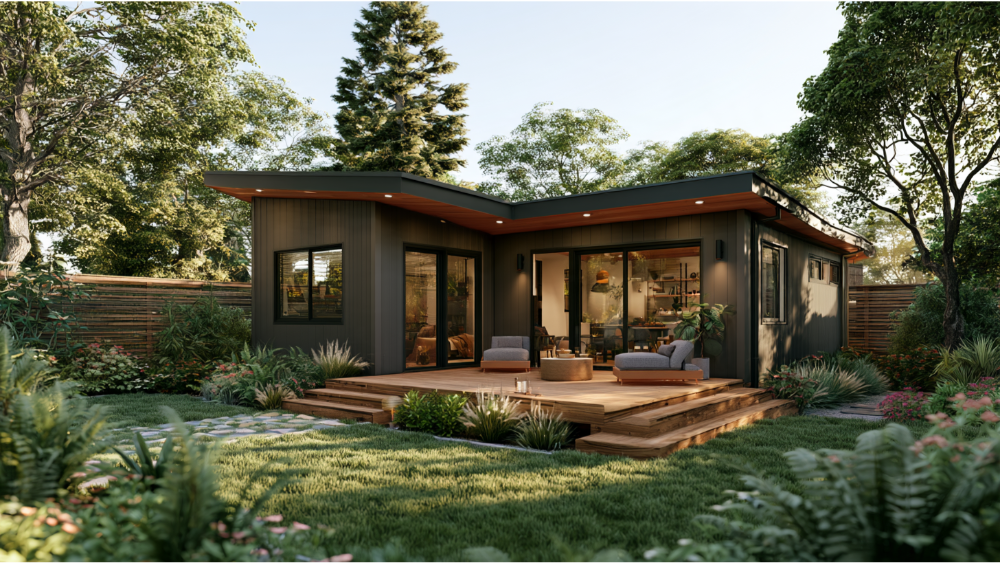
- Detached ADU: A freestanding structure with its own foundation and, often, its own utility connections. Detached ADUs are the most flexible design and usually the most involved build.
- Attached ADU: An attached ADU is a new addition that shares at least one wall with the main home. Design is constrained by the existing structure, and utilities are often shared.
- Garage conversion: Garage conversions repurpose an existing garage into living space. This can be attached or detached depending on the garage.
- Interior conversion: Carving a unit out of existing space like a basement or attic. A junior ADU is a smaller version of this, typically within the main home.
Not every jurisdiction allows every configuration, so confirm what's permitted on your lot before you fall in love with a type.
Step 1 — Define Why You Are Building the ADU

Everything downstream flows from one question: what is this space for? A rental for steady income reads differently from a suite for aging parents, a guest house, or a future spot to downsize into. Think about who will live there, how many people, and for how long. A unit meant for a family member who needs single-level access has different priorities than a studio you'll rent to one tenant. Short term rentals and long term tenancy also pull a design in different directions, so name your living situation early.
The deliverable here is a written project brief that lists your priorities and your non-negotiables. It doesn't have to be fancy. It just has to be honest about what matters most to you, because that brief becomes the reference point every later decision gets measured against.
Step 2 — Set a Realistic Budget and Explore Financing
A workable budget separates two kinds of cost. Hard costs are the physical build. Soft costs are design, engineering, permit fees, and utility work, and they're the ones people forget. As general industry context, the full cost of an ADU project often lands somewhere between $100,000 and $300,000 depending on type, size, site, and local requirements. That's a reference range, not a quote from us, and your number only gets real after a professional looks at your property and helps you figure what you can afford.
Build in a contingency of 10% to 20% of the total. Surprises happen once you open up walls or dig into soil, and a cushion keeps a small issue from becoming a crisis. On financing, homeowners commonly look at construction loans, renovation loans, or home equity, and getting pre-approved early clarifies what you can actually borrow before you design to a number you can't reach.
Quality and competitive pricing aren't opposites. A thoughtfully designed ADU can be both well-built and sensibly priced, and over the long term the right unit can help cover its own financing while adding to your property value.
Step 3 — Confirm Your Property Feasibility
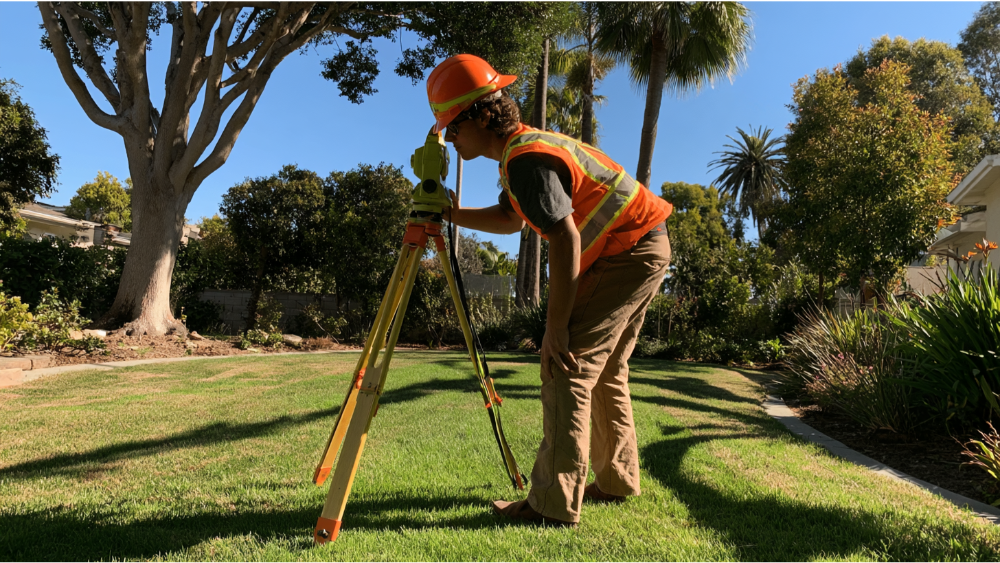
This is the step that saves people from expensive mistakes, and it comes before full design. Feasibility breaks into three questions.
Legal feasibility asks what the rules allow: zoning and permitted use, setbacks, lot coverage limits, any owner-occupancy requirement, and HOA or historic restrictions. Your city or county sets these, so confirm them locally. Physical feasibility asks what will actually fit and can be safely built:
- A current survey and confirmed property boundaries
- Easements that may block where you can build an ADU
- Utility locations and whether there's capacity to add a dwelling
- Sewer or septic service and its limits
- Grading, drainage, and soil conditions
- Flood, wildfire, or slope hazard exposure (check flood maps now, not later)
- Access for construction equipment and protected trees
The third question is financial feasibility: does the real scope, once risks are known, still fit your budget? The deliverable is a written set of feasibility findings and a short list of major risk items. An honest builder would rather tell you about a sewer problem now than after you've paid for plans.
Step 4 — Choose the ADU Type, Size, and Placement
With feasibility in hand, you can compare types against how you'll actually live. A detached unit gives the most privacy but uses more yard. An attached or conversion option keeps utilities close and disturbs less outdoor space, with less design freedom. Think about natural light, distance to existing utilities, and how the unit relates to your main home.
Good small-space design punches above its square footage. Higher ceilings and generous windows make compact rooms feel open. Built-in storage keeps the layout functional. If accessibility matters now or later, universal design features like wider doors and a step-free entry add real value and widen who can use the space.
Step 5 — Assemble Your Design-Build Team
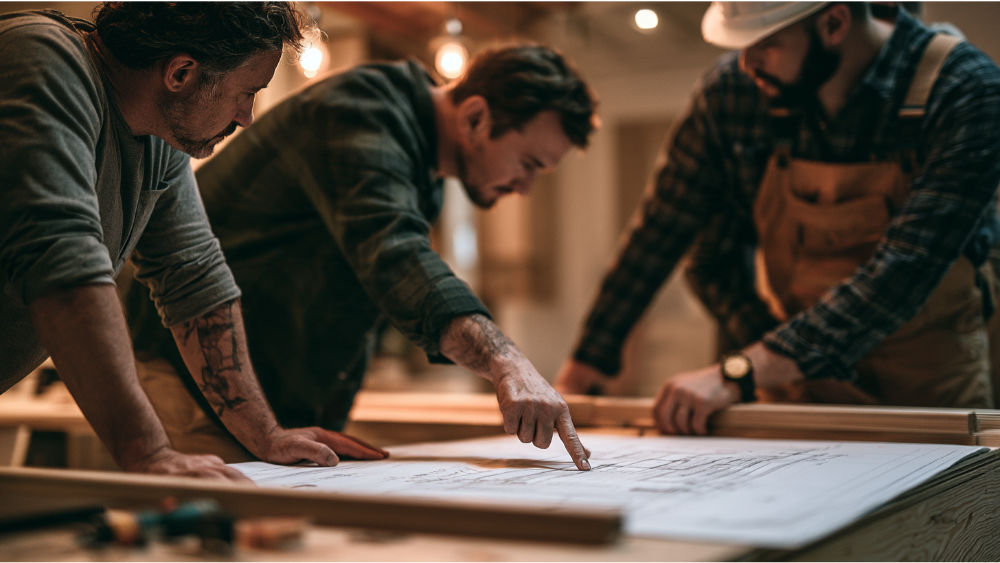
An ADU is a small house, and a small house still needs real expertise. Depending on your construction project, the roles involved can include an architectural designer or architect, a structural engineer, a surveyor, a civil or geotechnical professional, an energy consultant, your utility providers, and the local building department.
You can hire each of these separately and spend your weekends playing messenger between a designer, a drafter, an engineer, and a builder who've never worked together. Or you can work with one integrated design-build team that carries your project from the first sketch through the final inspection. We built Skyline Design Build around that second model on purpose. Founders from different construction disciplines put their expertise under one roof, so our services cover drafting, design, permitting, and construction from a single team that stays accountable to you the whole way. If you'd like to talk through which path fits your project, we'd be glad to. There's no reason to let doubt about who does what slow you down.
Steps 6 & 7 — Design, 3D Visualization, and Permit-Ready Plans
These two phases are linked, and skipping the gate between them is where budgets slip.
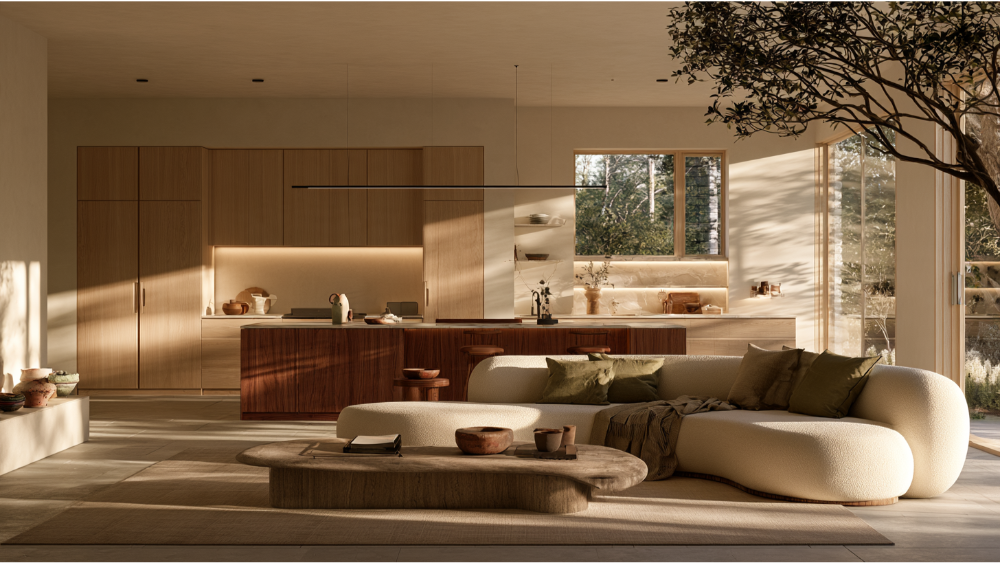
First comes the concept and preliminary scope. This is where the floor plan takes shape, siting is confirmed, mechanical strategy and preliminary utility routing get worked out, and material direction starts to form. This is also where 3D rendering and visualization earn their keep. Seeing your future ADU before anything is built answers the quiet worry almost every homeowner carries: will it actually look like what I imagined? Alongside the visuals comes a preliminary estimate. Here's the decision gate: before you spend money on full engineering, confirm that the design, the budget, and your feasibility findings still line up. If they don't, adjust now.
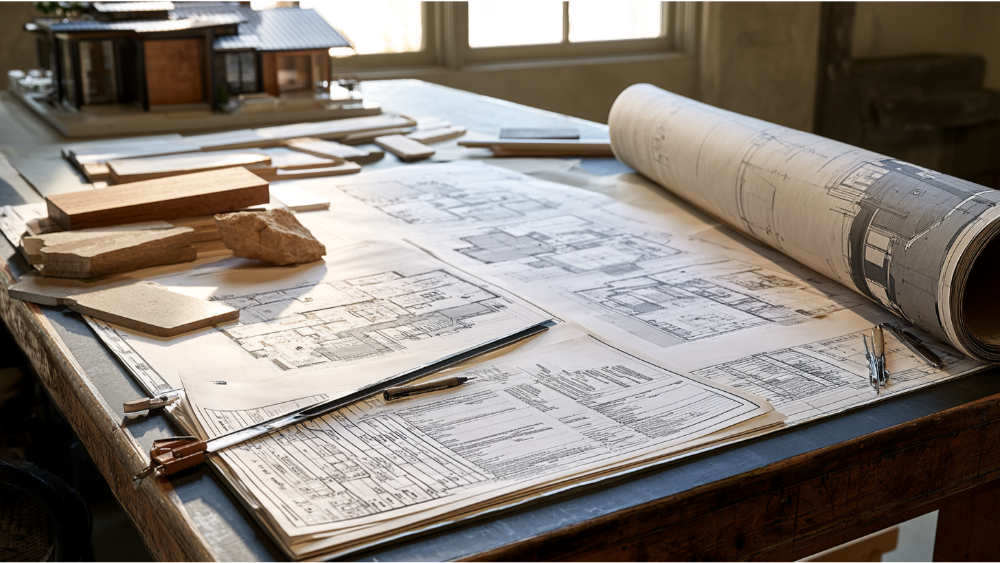
Then come permit-ready plans and engineering. This is a complete construction set: a site plan, architectural drawings, structural calculations, foundation design, energy-code documentation, mechanical, electrical, and plumbing details, plus grading or drainage and utility plans where required. A concept sketch or an online floor plan is not a permit-ready set, and treating one as the other is a reliable way to earn correction notices. The materials you pick here, from framing to finishes, also shape your final estimate.
Step 8 — The ADU Process: Permitting and Plan Corrections
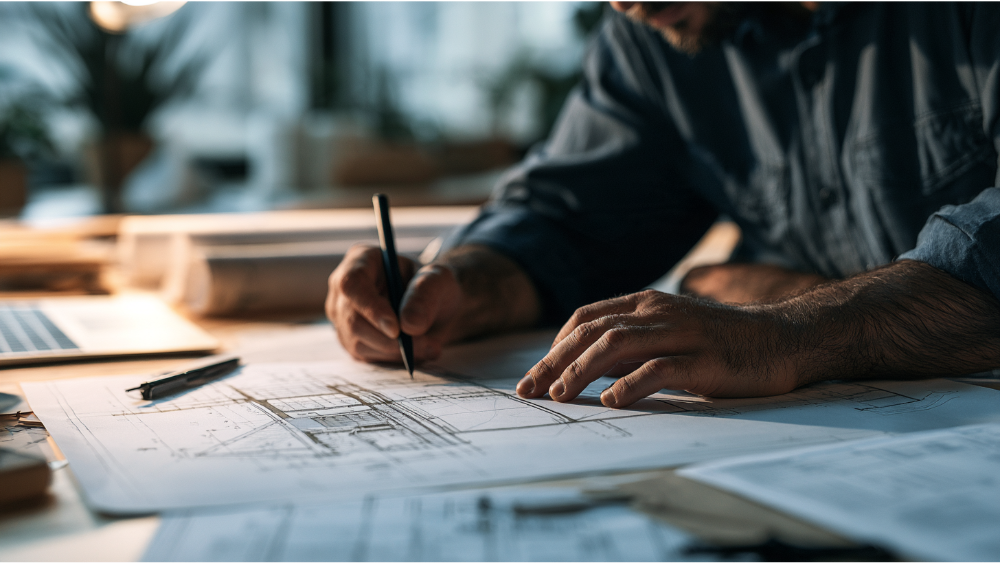
Permitting is often the longest phase of the whole project, so plan for it. The adu process at this stage usually runs: plans are approved, fees and pre-issuance conditions are satisfied, the permit is issued, construction and inspections happen, and finally you get occupancy approval. Those are distinct milestones. Approval is not the same as issuance, and neither one means you can live there yet.
Expect more than one permit. There's the main building permit application, and often separate trade permits for electrical, plumbing, and mechanical work, plus any utility or septic approvals. Some jurisdictions require zoning sign-off before they'll even review a building permit.
Plan review often comes back with correction notices asking for revised drawings or added calculations. That cycle is normal. What's avoidable is extra rounds caused by incomplete plans or unresolved utilities, which is exactly why thorough earlier steps pay off here. Pre-approved ADU plans can trim some design work, but they still have to be checked against your specific property, so "pre-approved" rarely means "start building tomorrow." A team that knows the permitting process well keeps this phase moving, and once your permits are granted the real build can begin.
Step 9 — Lock In Scope, Contract, and Communication Before Building
This is where an honest builder protects you from the horror stories. Before a shovel hits dirt, get the details in writing. Your contract should spell out a clear scope of work, allowances and exclusions, material-selection deadlines, and payment milestones tied to real progress. It should name who authorizes change orders, who pays permit and utility fees, and who schedules inspections.
Just as important is the communication plan: how often you'll hear from your project manager, and how key decisions get documented. Settle insurance and, if you'll need somewhere to stay during the build, temporary-living arrangements. Transparency at this stage is the direct answer to surprise fees and a contractor who goes quiet. When scope and decisions are written down, nobody disappears, and nobody gets a mystery invoice.
Step 10 — Build, Inspect, and Close Out Your ADU
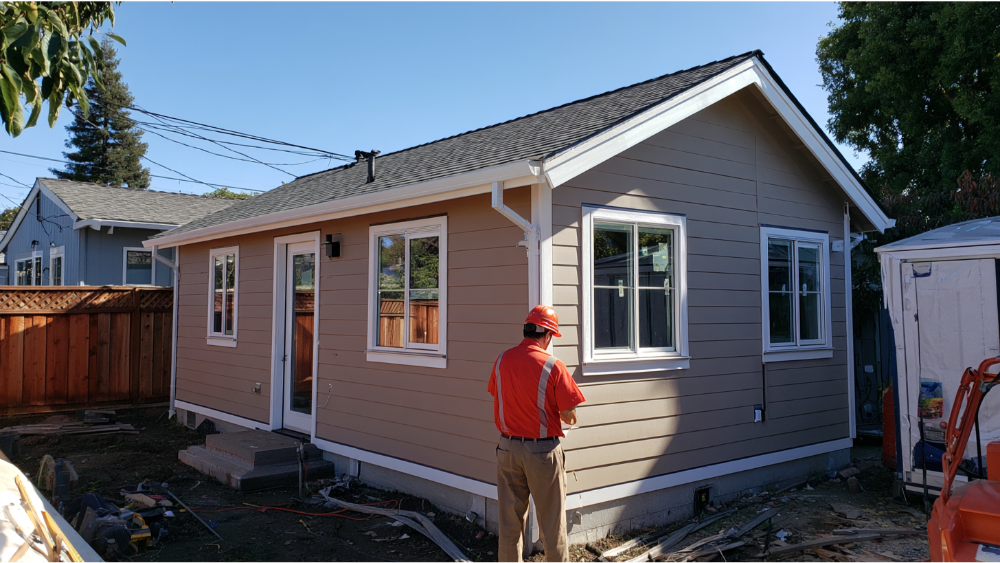
Construction moves through a predictable order, with inspection hold points between stages:
- Site preparation and demolition
- Foundation
- Framing
- Dry-in: roof, windows, and exterior weather barrier
- Rough plumbing, electrical, and mechanical
- Required rough inspections
- Insulation and drywall
- Siding and interior finishes
- Cabinets, tile, flooring, fixtures, and appliances
- Finish electrical, plumbing, and mechanical work
- Punch list and final inspection
Inspectors sign off between phases, so the work can't simply race to completion. Throughout, you should be getting regular updates from your project manager, not left guessing.
Closeout matters as much as the last coat of paint. You'll need a final inspection and a Certificate of Occupancy before anyone can legally live there. Then gather your closed permits, warranties, appliance manuals, and as-built documents. Update your insurance, set up the ADU's utility accounts and address, and talk with a tax professional about property-tax and rental-income implications. Only after final approval, when the job is truly completed, is the ADU ready to use.
Why ADUs Offer Long Term Value
An ADU is one of the smartest ways to get more out of a single lot. Done well, accessory dwelling units add flexible square footage, create income, and give family a place to land, all of which support long term value. For an example, a detached unit can house an adult child one year and a renter the next as your family's life changes. The benefits add up: more housing in your community, a stronger property, and a home that adapts to whatever comes. These are the kinds of returns that make the idea worth serious thought.
What Commonly Delays an ADU Project?
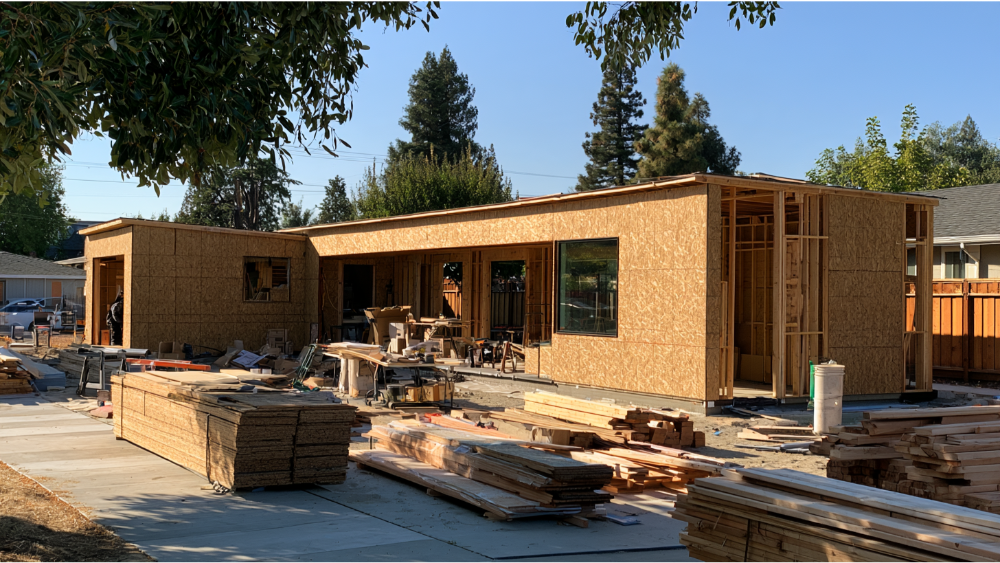
Most ADU projects run somewhere in the range of 6 to 12 months, and timelines vary with the property. The gap between fast and slow usually comes down to a handful of things:
- Incomplete feasibility work early on
- Survey or easement surprises
- Utility upgrades or septic limitations
- Plan correction rounds
- Owner design changes mid-project
- Late finish selections
- Long-lead materials
- Failed inspections
- Weather and limited site access
- Inspector availability
Thorough feasibility up front and quick decisions from you keep things on schedule. It's also why no honest builder hands you one guaranteed timeline before seeing your property.
Frequently Asked Questions About the Steps Involved
What is the cheapest way to build an ADU?
Converting existing space, like a garage or basement, is usually the most affordable path since the structure already exists. It still requires permits and a property-specific review, so confirm it's allowed before counting on the savings.
What's one drawback of an ADU?
The main trade-offs are the upfront cost and the loss of yard or outdoor space, along with added considerations for property taxes, insurance, and utilities once the unit is in use.
How long does it take to build a prefab ADU?
It varies. Prefab can shorten on-site construction, but you still need site prep, a foundation, utility connections, and full permitting, so the total timeline isn't as short as the factory build alone suggests.
What are all the steps involved for a beginner?
Follow the ten-step roadmap above, from purpose and feasibility through closeout. For first-timers, the simplest route is one integrated design-build team guiding you through every phase so you're never juggling separate providers.
More Posts and Resources on ADU Construction
Want to keep learning before you commit? Look for more posts, articles, and videos on adu construction that walk through design ideas, financing, and local rules in greater depth. The more you read, the more confident you'll feel about turning a vision for your home into a real plan.
Ready to Plan Your ADU? Let's Talk
Your ADU is personal, and planning it shouldn't feel like a gamble. At Skyline Design Build, we bring drafting, design, permitting, and construction together under one roof, so you have a single honest team from the first conversation through final approval. We'd love to join you in your project and give you the confidence to move forward on your dream. Start with a free consultation where we'll talk through your vision, budget, timeline, and whether your property is a good fit. Call us at (916) 701-9196, email [email protected], or reach out through our website contact form whenever you're ready.